Star Guides |
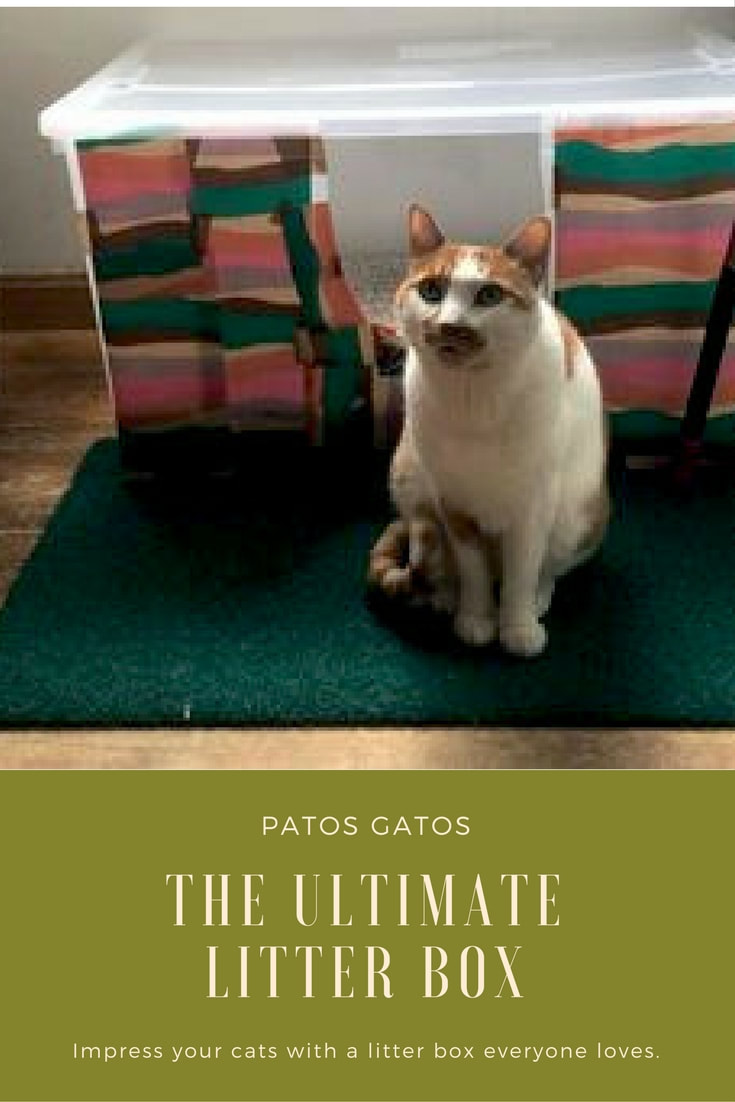
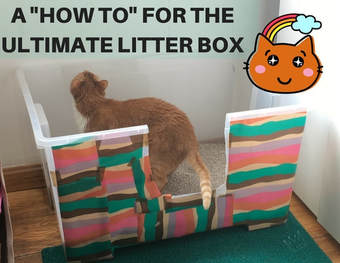
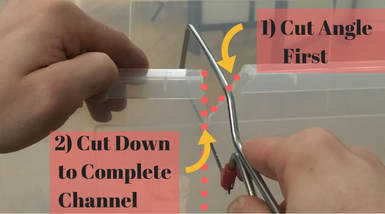
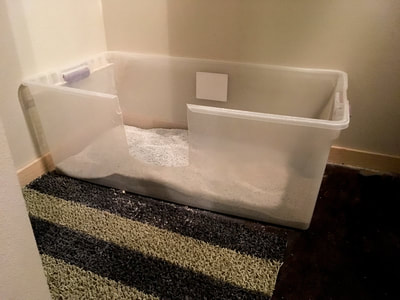
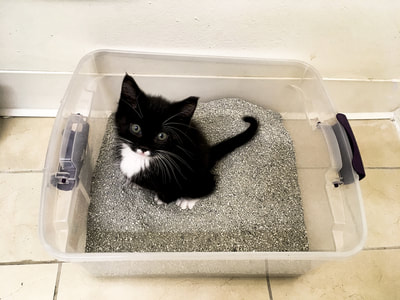
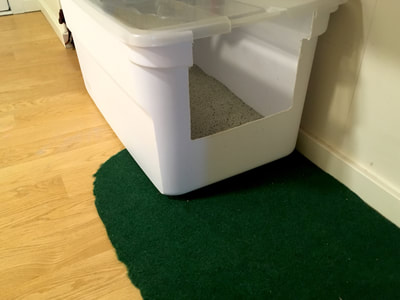
Step 1 Understand your cats needs! A litter box should be 1 1/2 times the length of your cat. If you are planning on using the lid then make sure your litter box is at least a few inches taller than your cat, so they are clear on top of the litter. The rest is up to what your cat prefers. Some cats do not like to be seen in the litter box and some want to make sure they can see everything else. Learn whether they like roofs on the litter boxes or prefer them open by trying it both ways. We have had the most success with clear litter boxes without the lid. This keeps your cats from being scared of being cornered. Step 2 Find a box! The containers can be tricky in that they usually go in terms of quarts or gallons, not inches. On the bright side they are pretty common. They make them in different materials and I try to find something that is softer and more flexible. as this will help when you cut it. You can see a sample of what to look in clear here or in navy here Step 3 Cutting a hole in it! There are so many ways to get the cutting done, but some are easier than others. For the lines I like to use tape. This lets me know where to cut without leaving permanent marks.
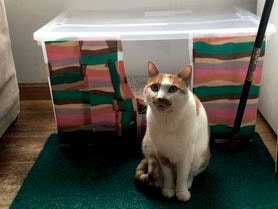
I would not advise trying to use some heavy duty scissors or shears. This can easily crack the material unless you have a very soft container. Now is also when I like to finish the door edges with either sand paper or a file to get them nice and smooth. Protecting your feline friends and keep it clean and professional. Step 4 Set it up! Paint it, cover it in wrapping paper, do whatever you like! Then just find a good spot that will keep your cats happy and pour in your favorite litter. You're done now so sit back and relax! This post uses affiliate links to help support our cats and this blog. Homemade DIY Litter Box GallerySend us pictures of your homemade litter box and we may feature them here!
0 Comments
Leave a Reply. |
CategoriesArchives
November 2018
|
Patricia Ramos Copyright © 2021
 RSS Feed

